This guide is to be able to use LogMeIn Rescue Technician Console on your iPhone or Android device. This method uses my other guide (create an Ubuntu desktop on a VPS) but I have made a simplified version right here.
iPhone: install VNC Viewer from the AppStore.
Android: install VNC Viewer from the Play Store OR androidVNC from F-Droid (free) OR androidVNC in portrait mode.
Next, we will need to create a small private server to run LogMeIn Rescue Console. You can have many agents using one server, each will have their own separate desktop. Officially, LogMeIn recommends 100MB of memory plus 20MB per remote control session, so use this as a guide if you have a lot of agents.
Create a VPS running LogMeIn.
Create a 64bit Ubuntu 16.04 or Ubuntu 14.04 server. You might be able to find some free ones here http://ohosti.com/vpshosting.php, here http://www.yocat.info/, or here http://guhat.info/.
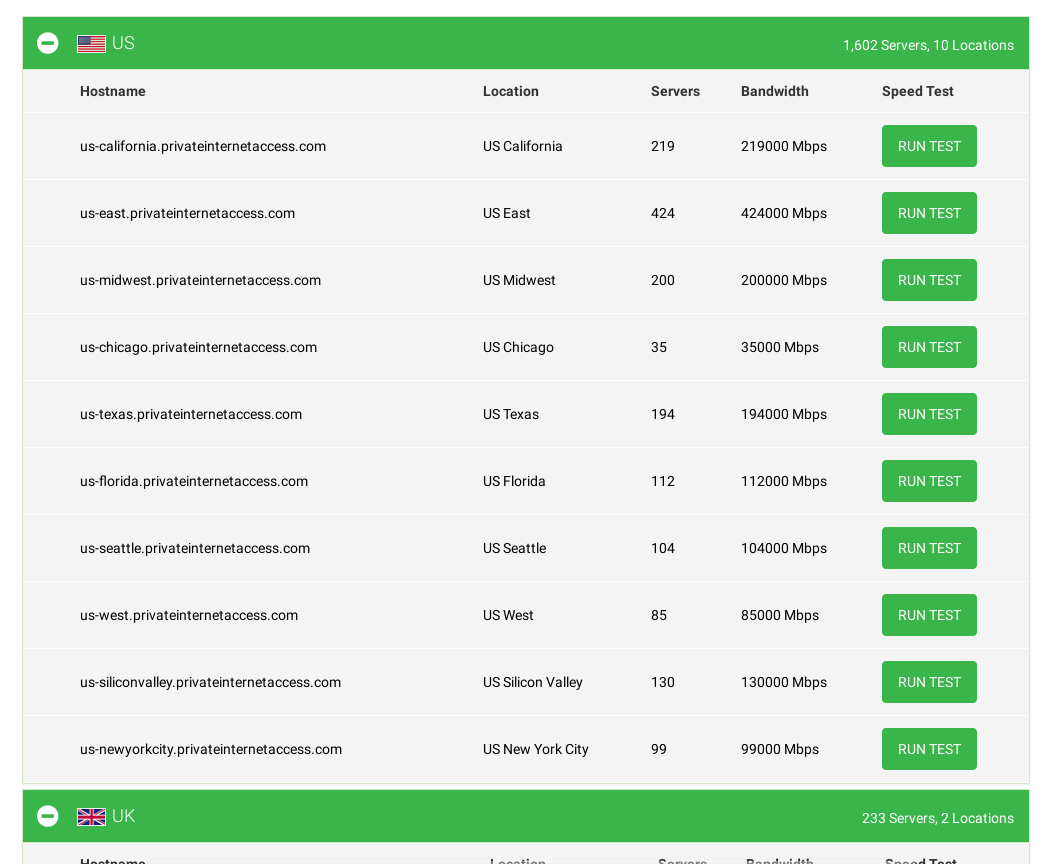
Since most readers will already have paid for LogMeIn, I will suggest paid VPS servers from Vultr..com. Indian based agents can find servers in Bangalore at DigitalOcean.
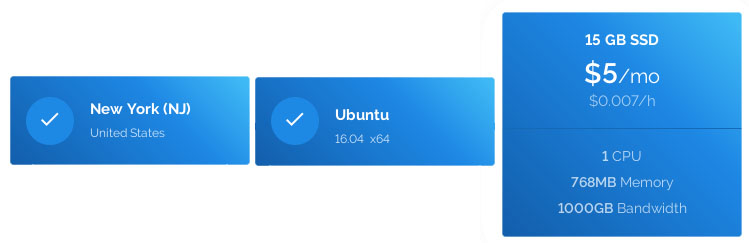
If you’re using Vultr, deploy a new instance, choose a location nearest to you, select Ubuntu 16.04 x64.
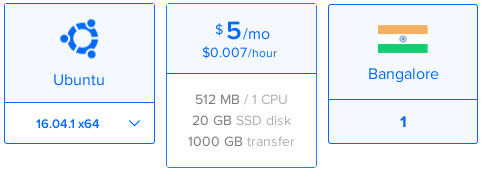
If you’re using DigitalOcean, create a droplet, choose a location nearest to you, make sure to select Ubuntu 16.04 x64.
Log into your VPS
ssh root@you.rser.ver.ip
# update your server

sudo apt-get update
# install fail2ban to stop brute force attacks
sudo apt-get install fail2ban -y
# install a desktop environment
sudo apt-get install ubuntu-desktop -y
# install vnc4server so we can control the desktop from mobile
sudo apt-get install vnc4server -y
# install some extra memory (swap)
cd ~/
# this is a swap autoinstaller for ubuntu on github
wget http://git.io/MJDcxw -O swap
sh swap 4G
# reboot at this step
reboot
# create a vnc display, choose a password when prompted
vnc4server -geometry 1920x1080
# then kill this display as it was just to setup the password
vncserver -kill :1
# install a window manager so you can drag things around
sudo apt-get install metacity -y
# install a nicer terminal
sudo apt-get install gnome-terminal -y
# add a lightweight application menu
sudo apt-get install plank -y
# add 32 bit architecture to your VPS so we can run 32 bit applications
sudo dpkg --add-architecture i386
# install playonlinux so we can run windows applications
sudo apt-get install playonlinux -y
# add these applications on desktop startup (not playonlinux though)
echo "gnome-session &" >> ~/.vnc/xstartup
echo "gnome-terminal &" >> ~/.vnc/xstartup
echo "gnome-terminal &" >> ~/.vnc/xstartup
echo "gnome-terminal &" >> ~/.vnc/xstartup
echo "metacity &" >> ~/.vnc/xstartup
echo "plank &" >> ~/.vnc/xstartup
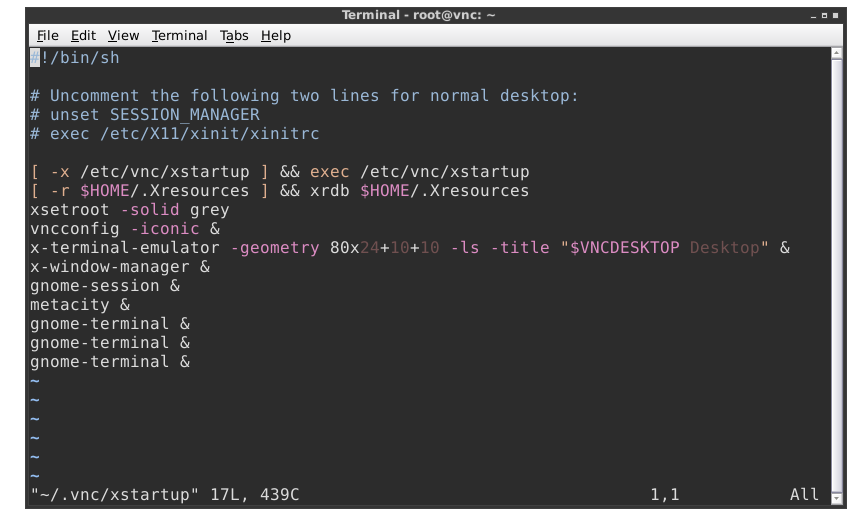
# check that your desktop startup looks good
cat ~/.vnc/xstartup
Making User and Agent Accounts
adduser admin

adduser john

adduser mike

adduser anil
# make an admin user
nano /etc/sudoers
# add the admin user to the bottom
admin ALL=(ALL:ALL) ALL
Now, find out the resolution of your iPad, iPhone, Tablet, or Android phone by searching for “iphone 6 screen resolution” or whichever device model you have.
Decide whether you prefer to work portrait or landscape (I prefer portrait).
I am using iPhone 6 which is 1334×750, but I want portrait, so I want
Now we will make a desktop for each user.
vi /etc/vncserver/vncservers.conf
su admin

vnc4server -geometry 750x1334

# make a password (you'll use this password when using the app) and also note where it starts :1, :2, :3, etc.

# then kill that process

vncserver -kill :2

echo "gnome-session &" >> ~/.vnc/xstartup

echo "gnome-terminal &" >> ~/.vnc/xstartup

echo "gnome-terminal &" >> ~/.vnc/xstartup

echo "gnome-terminal &" >> ~/.vnc/xstartup

echo "metacity &" >> ~/.vnc/xstartup

echo "plank &" >> ~/.vnc/xstartup

exit
Repeat the above for each user
Note: I want a larger working area on my iPhone so I use the follow geometry:
vnc4server -geometry 1500×2668
You can now connect to the server from your iPad, iPhone, Tablet, or Android phone.
iPhone/iPad users
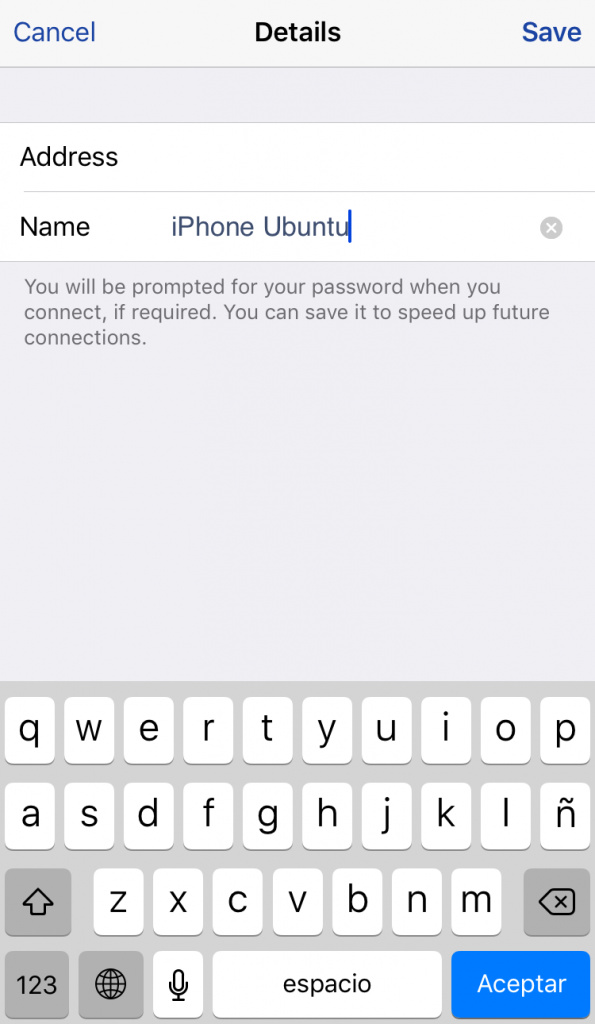
Open VNC Viewer and create a new connection (+).
Input your server IP address with the a trailing :1 or :2 depending on what user you are logging in as and then press save.
Click on your new server, you’ll be asked to enter the password for that user and you should get an “Unencrypted connection” warning. Hit connect and you’ll see your desktop.
Android users
Open VNC Viewer.
Create a new connection, use the following settings:
Host: IP address of your server.
Port: 1
Password: Password from above, use vncpasswd to change
Installing LogMeIn on the server so you can access it from iPhone & Android.
In VNC Viewer on your device, click on a terminal and type playonlinux and hit enter.
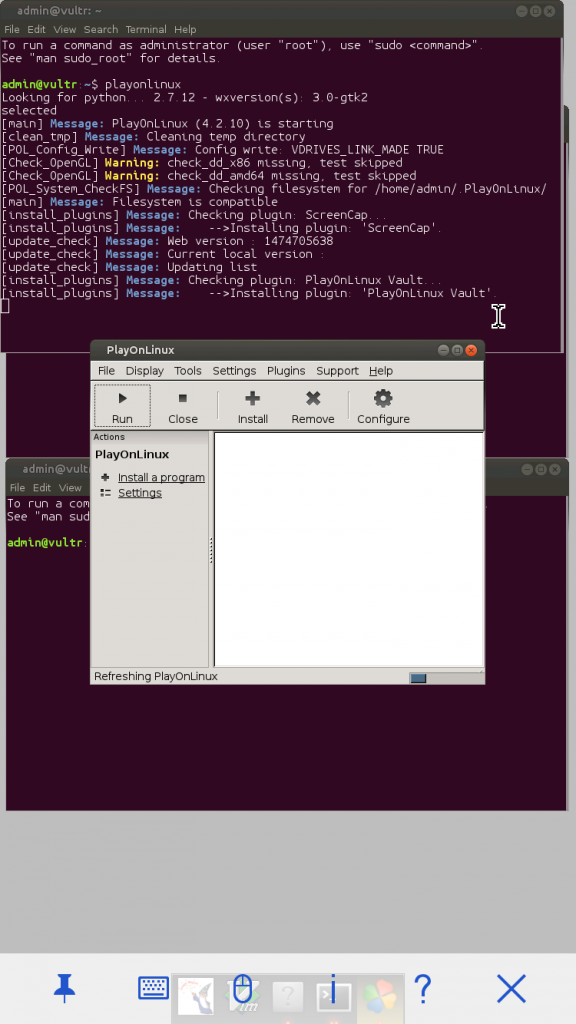
Now, follow the next steps on how to install LogMeIn on PlayOnLinux.
Comments 1