This guide will show you how to install and run Arch Linux ARM on your Rasbperry Pi 4 and Raspberry Pi 3b+
Install Arch Linux ARM from a Windows machine
For Windows users, you will need to format the card using external software. However, I recommend downloading Etcher and then running GParted-live off a live USB. Use Ethcer to burn Gparted live ISO to a USB.
Then follow the rest of the tutorial 😉
Install Arch Linux ARM from a Linux machine
Insert your SD card and identify which disk it is using lsblk, or either gparted or gnome-disks
lsblk -d -o name,model,size
# UBUNTU
sudo apt install gparted gnome-disks
# CENTOS
sudo yum install gparted gnome-disks
# ARCH
sudo pacman -S gparted gnome-disks
I highly recommend a graphical disk editor because unless you are using the native SD card slot, your SD can sometimes show up as a sdX disk instead of a mmcblkX disk.
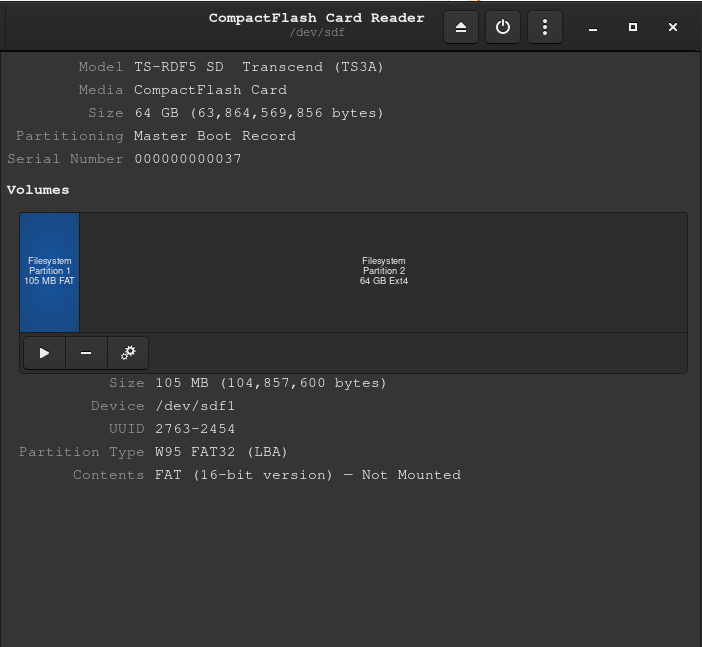
My disk is called /dev/sdf, BUT I am using a
It’s really a samsung UHS SD card, but I am using a SD card reader. Yours might be /dev/mmcblk1
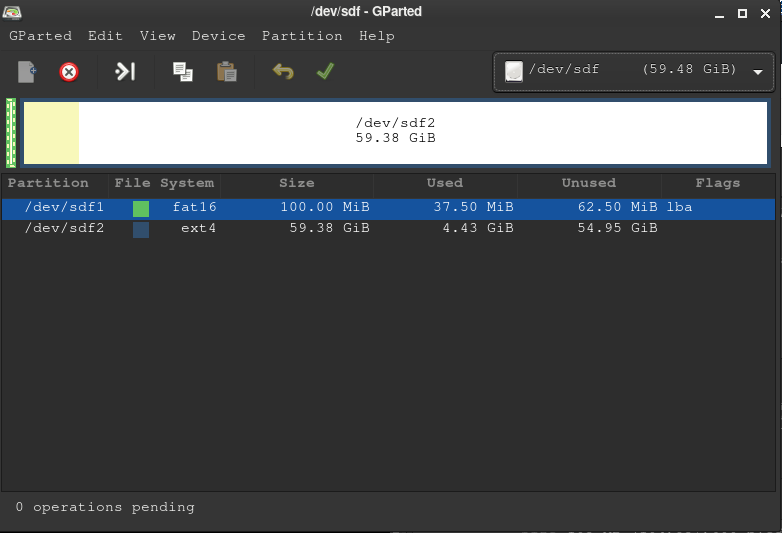
How to Partition Disks for Arch Linux ARM
- Delete all partitions on SD card
- Create 100mMB FAT16 partition
- Create 63GB ext4 partition
Hint: must be msdos/MBR partition table, done automatically in gnome-disks
Using fdisk
sudo fdisk /dev/sdX

# type the following letters during the prompts
o
n
p
1
<press enter>
+100M
y
t
c
n
p
2
<press enter>
<press enter>
w
# create fat16 and ext4 in the two new partitions
sudo mkfs.vfat /dev/sdX1
sudo mkfs.ext4 /dev/sdX2
Copy Arch Linux ARM Filesystem to SD Card
Arch Linux for ARM is nicely prepared as a targz. All you need to do is:
- extract the .tar.gz (AS ROOT, NOT JUST SUDO)
- move all files to the ext4 partition
- move /boot/* to the fat16 partition
-
Mount and open a terminal inside the 64GB partition
# do this inside the SD card directory!
# download the right image for your device:

# be root
sudo su
# Raspberry Pi 3b+
wget -L http://os.archlinuxarm.org/os/ArchLinuxARM-rpi-armv7-latest.tar.gz
# Raspberry Pi 4
wget -L http://os.archlinuxarm.org/os/ArchLinuxARM-rpi-aarch64-latest.tar.gz

# sudo extract into the drive. Must use sudo
tar -xzvf ArchLinuxARM-*.tar.gz -C .

# sync drives
sync

# mount the 100mb partition
# move the contents of the folder boot to the actual boot partition.
mv ./boot/* /run/media/user/100mbpartition/
You may see “Failed to preserve ownership” errors.
That’s normal because the boot partition isn’t owned by anyone..
One last step… Enable SSH (if you want)
Open the big partition folder at ./etc/ssh/sshd_config
# Uncomment or add these two lines to the bottom of /etc/ssh/sshd_config inside the SD card
PasswordAuthentication yes
PermitRootLogin yes
You’re Ready to Boot!
If you have a USB keyboard, you can connect to wifi
Otherwise, you will need Ethernet to use internet in the beginning.
- User: root
- Password: root
Regular user
- User: alarm
- Password: alarm
# find your IP address by looking at your router's network page
# or the ethernet port number you are using
# or just try ssh to root@192.168.1.2, 3, 4, 5, 6... etc. until you find it
[user@hostname ~]$ ssh root@192.168.1.3
Warning: Permanently added '192.168.1.3' (ECDSA) to the list of known hosts.
root192.168.1.3's password:
Welcome to Arch Linux ARM
Website: http://archlinuxarm.org
Forum: http://archlinuxarm.org/forum
IRC: #archlinux-arm on irc.Freenode.net
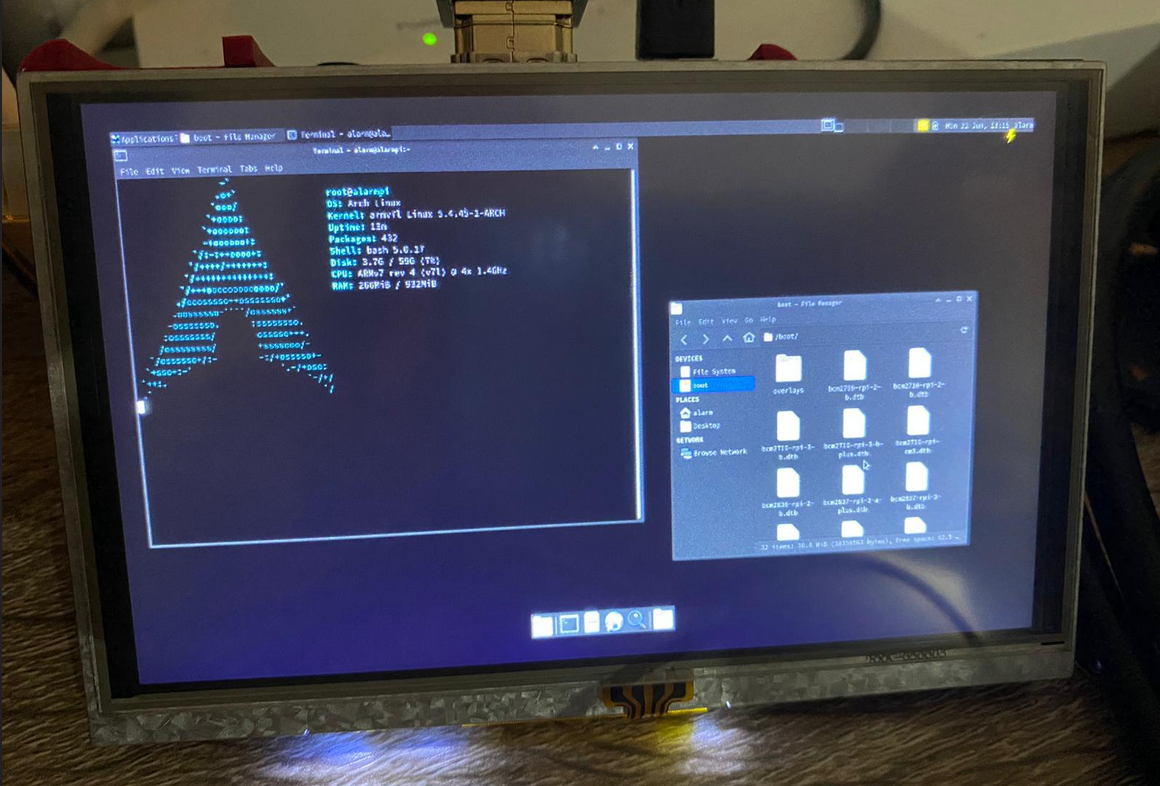
[root@alarmpi ~]$
Once you’ve SSH’ed in you’re done! That’s Arch 🙂
You’d probably want a desktop in Arch Linux.
You can choose ANY of KDE, Xfce4, i3, Awesome, etc.
Install xfce4 onto Arch Linux ARM
# login as root OR login as alarm and type su

# install sudo
pacman-key --init
pacman-key --populate archlinuxarm
pacman -Syu
pacman -S sudo
echo 'alarm ALL=(ALL) NOPASSWD: ALL' >> /etc/sudoers

# exit root back to alarm user
exit

# enter home
cd
# update to latest arch, rolling reserve
sudo pacman -Syu

# install base development tools
sudo pacman -S base-devel binutils git fakeroot make automake autoconf

# install xfce4, X11, and video drivers for the x server frame buffer
sudo pacman -S xfce4 xfce4-goodies xorg-server xf86-video-fbdev xorg-xinit

# optional install the world famous Arch User Repository!
git clone https://aur.archlinux.org/yay.git
cd yay
makepkg -si

# from the terminal run
startxfce4

# or
# dbus-launch startxfce4

# or
# nohup startxfce4 &

you would can’t boot, because bootloader is not set on sd card
The command “nohup startxfce4 &” did not work for me. It does go into a graphics mode, but then it shows a dialog box error that says:
Unable to contact settings server
Could not connect: Connection refused
[Close]
When I press Enter, it goes right back to the text command prompt.
I’m on a Pi 4 using Arch Linux armv7l:
$ uname -a
Linux mango 5.4.61-2-ARCH #1 SMP PREEMPT Fri Sep 4 12:46:16 UTC 2020 armv7l GNU/Linux
After about an hour of searching online, I ran into this forum thread:
https://bbs.archlinux.org/viewtopic.php?id=216491
I tried the following command, and it actually works!
dbus-launch startxfce4
I thought I would leave this here in case it helps somebody else.
Thanks I have updated the article!
I should have mentioned startxfce4 would run if you are using the TTY on the display, rather than SSH in.
Thanks for letting me know, Don!
Was everything else in the tutorial correct?
Then, you mean that is not possible to run xfce without an external display?
Because I am trying to make it run following all the steps but I get this error again and again:
[alarm@alarmpi ~]$ startxfce4
/usr/bin/startxfce4: Starting X server
(EE)
(EE) Backtrace:
xinit: giving up
xinit: unable to connect to X server: Connection refused
xinit: server error