The following tutorial will illustrate how to take a block for block, sector for sector, bit for bit copy of any drive, both SSD and HDD. You will additionally be able to recover deleted files, as long as they have not been overwritten.
This works on public clouds too, so email your cloud provider and ask whether they zero out disks after use!
Requirements for physical access:
- Secondary server/disk that is larger than the source disk.
- USB or ability to insert recovery disk
Requirements for servers:
- Secondary server/block storage/disk that is larger than the source disk.
- Ability to insert recovery media to the server
Step 1: Create a Bootable Recovery Media (any distribution)
Boot into any live USB or live ISO distribution.
The easiest live GNU/Linux distribution to use is called GParted live.
You can download the ISO from: https://gparted.org/download.php
Tip: if you can’t boot into the recovery media, change your BIOS boot order or create another small UEFI bootloader helper using Super Grub Disk 2.
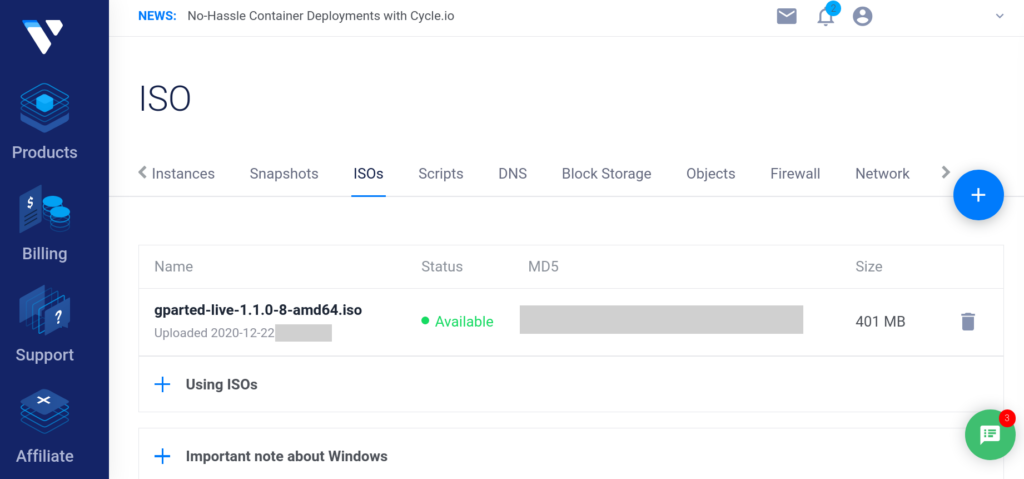
For example, in Vultr you can upload any generic ISO file for booting:
Step 2: Copy the Unmounted Source Disk, Bit for Bit, Byte for Byte.
There are multiple ways to do this.
You can copy the whole disk out over the network to anywhere in the world.
Or you can copy the whole disk over to the second drive.
Type the lsblk command to identify the source disk that you will be imaging.
[~]$ lsblk
NAME        MAJ:MIN RM   SIZE RO TYPE MOUNTPOINT
sda           2:0    0  30.8G  0 disk
├─sda1        2:1    0   2.1G  0 part
└─sda2        2:2    0  28.6G  0 part
sdb           2:5    0  4.0G   0 disk
├─sdb1        2:7    0   3.9G  0 part /
In this example:
sdb is the live USB I am booting from
sda is the original disk I want to copy
Unmount the disk you want to copy (unmount sda1 and sda2).
- Network copy the disk:
cat /dev/sda | ssh root@11.22.33.44 "cat > sda.img"
# OR
ssh root@11.22.33.44 "cat > vdc.img" < /dev/vdc
- Hard copy the disk to physical media:
Mount a third disk, and cat the disk onto a file inside that disk:
</dev/sda > /mnt/block/sda.img
Step 3: Inspect the forensic disk image
Now you should have a very large bit for bit disk.
You can prove that it is the real disk by using head command:
[~]# head sda.img
�c��м���؎���|����!��8u
�����u�����|���t�L��|��������t�
�pt���y|1��؎м ��d|<�t��R�|�A��U�ZRr=��U�u7��t21��D@�
D���uNf�|f1�f�4��1�f�t;}7����0�����
Z�ƻp��1۸�r��`���1�������a�&Z|��}�
��}�4��}�.���GRUB GeomHard DiskRead Error
����<u���� � !�����U�R��f�-���
�|�tFf�f�Mf1��9�)ff�U��Df�f�L
You should see lots of junk unicode replacement characters.
Use fdisk to ensure this disk is the right disk. It should have as many partitions as you expect.
fdisk -l sda.img
[~]# fdisk -l sda.img
Disk sda.img: 26.8 GB, 26843545600 bytes, 52428800 sectors
Units = sectors of 1 * 512 = 512 bytes
Sector size (logical/physical): 512 bytes / 512 bytes
I/O size (minimum/optimal): 512 bytes / 512 bytes
Disk label type: dos
Disk identifier: 0x0009c6da

  Device Boot      Start         End      Blocks   Id  System
sda.img1   *        2048    52428766    26213359+  83  Linux
In the above fdisk output, our disk is a dos disk. Likely due to an MBR partition table.
Step 4: Top Level Disk Recovery
You can use testdisk to recover lost files.
# ubuntu/debian/pop
apt install testdisk -y

# centos/rhel/rocky/fedora
yum update -y
yum install epel-release -y
yum install testdisk -y
Now run testdisk on the image:
testdisk sda.img

TestDisk 7.1, Data Recovery Utility, July 2019
Christophe GRENIERhttps://www.cgsecurity.org
TestDisk is free software, and
comes with ABSOLUTELY NO WARRANTY.
Select a media (use Arrow keys, then press Enter):
Disk sda.img - 26 GB / 25 GiB
Choose EFI GPT
[EFI GPT] EFI GPT partition map (Mac i386, some x86_64…)
Choose Analyse
[ Analyse ] Analyse current partition structure and search for lost partitions
Ignore the Bad GPT errors and hit Enter for Quick Search.
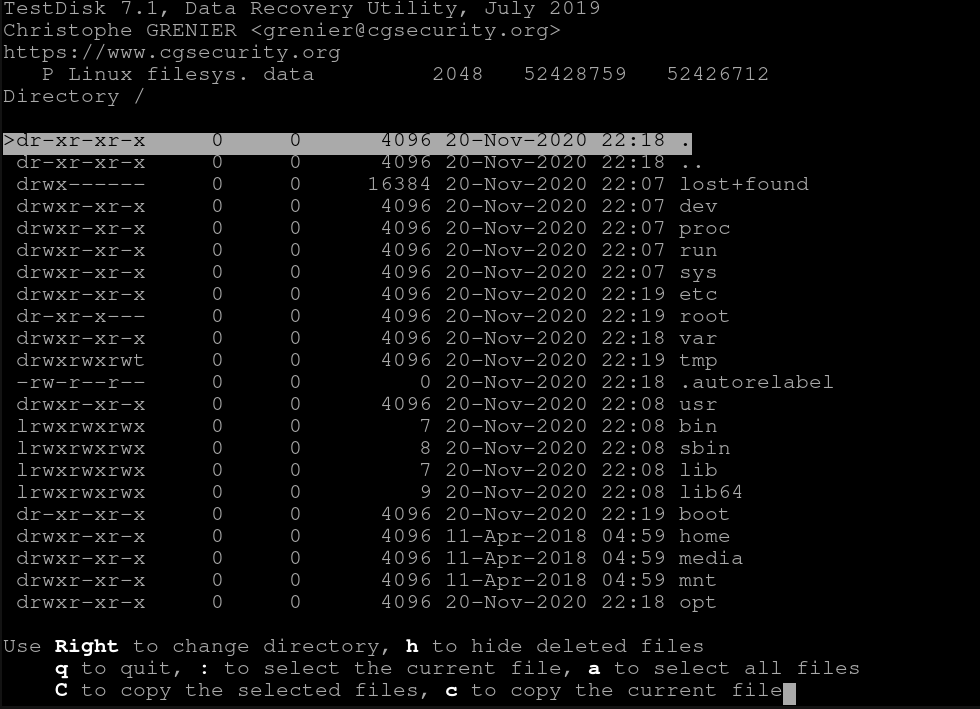
Press the letter P to list files
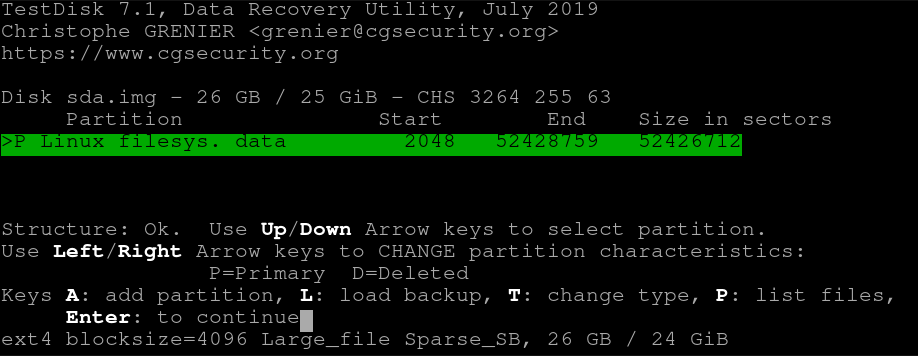
You should be presented with the disk structure:
Step 5: Forensic Disk & File Recovery With Deeper Search
Press q to return to the menu with the disk and perform a Deeper Search to recover substantial files, including partitions that have been previously deleted.
The above example has so many Linux filesys. data copies because it is an image from an SSD inside a public cloud.
It will try to recover as many previously seen file systems that were on the drive.
This works much better for Hard Disk Drives but you can STILL recover files from SSD’s, as long as TRIM is not performed.
I’ve successfully recovered deleted partitions, files, and videos from Samsung SSD’s and Kingston SSD’s, as well as Intel SSD’s.
How to Defend Your Disks from Recovery
shred
Single files can be deleted using shred or secure-delete
shred using the -n option will overwrite that file 30 times. This can take a very long time if the file is very large.
shred -n30 ./file.txt
shred can cause your SSDs to die faster.
bleachbit
apt/yum/pacman install bleachbit
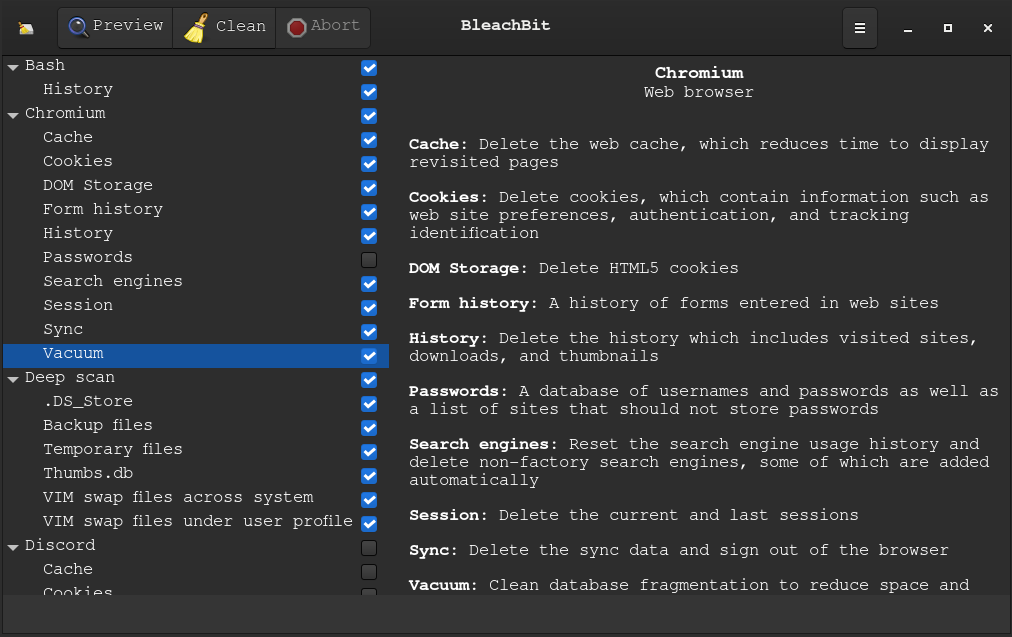
WARNING using bleachbit. Be VERY careful not to delete files that you actually need!
E.g Bookmarks, passwords, backup files.
read every. single. thing. that you tick because if you delete it…
They will be gone forever.
Zero out any unused space using < shell operator > OR just use cat
You can just fill up the disk until the disk is full, and then delete that file:
# user zeros
cat /dev/zero > delete_me

# or use random characters
cat /dev/urandom > delete_me

# cat: write error: No space left on device
rm delete_me
TRIM your SSD manually
sudo fstrim -v /
fstrim will literally reset every unused memory cell to factory state. This will prevent cells from being recovered. However, this might not include SSD cells that have been marked as bad sectors. Because SSD’s degrade over time, it is possible for some sectors to become undeletable.

